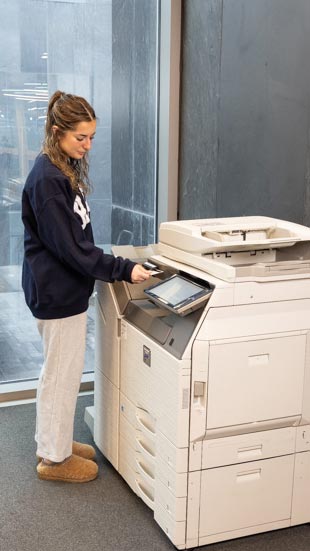
 The Ramapo Printing service is available to active students, allowing them to print from their mobile device or laptop to any swipe-to-release printer located in the Learning Commons and Fishbowl.
Faculty Printing
All faculty have access to a shared pool of printers located in or near the Dean’s Suite offices. These printers are managed through PaperCut’s Faculty_Printers follow-me print queue, allowing you to send a print job once and release it from any printer in the pool.
When you sign in to a Ramapo-managed computer, the Faculty_Printers printer will already be available.
Printer Locations
- AC215 – Nursing Office
- ASB122 – Undergraduate Studies Office
- ASB333 – Anisfield School of Business Office
- ASB422 – School of Science, Nursing, and Health Office
- ASB433 – School of Social Sciences and Social Work Office
- B222 – School of Arts, Humanities, and Education Office
- BC238 – Berrie Center Mail Room
- E238 – Teachers Education Copy Room
- H113 – H-Wing Copy Room
What Is a Follow-Me Queue?
The Faculty_Printers queue is a follow-me print queue. This means you can print to the queue from your computer and then release your print job from any of the printers listed above.
First-Time Setup
The first time you use one of the faculty printers: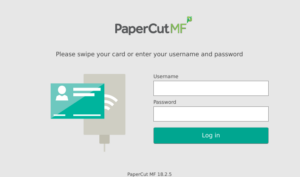
- Swipe your Ramapo ID card using the magnetic card reader.
- When prompted, sign in using your Ramapo username and password on the printer’s touchscreen.
- This pairs your ID card with your account.
- After pairing is complete, the printer will return to the login screen.
- Swipe your ID card again to sign in.
Note: Some of these printers previously required a PIN. PINs are no longer used. Once your ID card has been paired with your account, simply swipe your card to sign in on future visits.
Printing
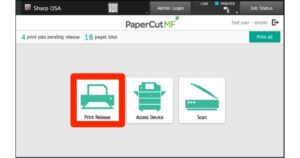
- Swipe your Ramapo ID card to sign in.
- Select Print Release
- Select the document(s) you want to print.
- Press Print.
- When you are finished, press Logout.
Copying
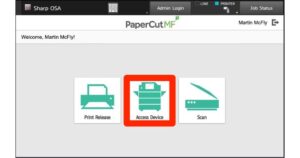
- Swipe your Ramapo ID card to sign in.
- Select Access Device.
- Select Copy.
- Use the copier as you normally would.
- When you are finished, press Logout.
Scanning to Email
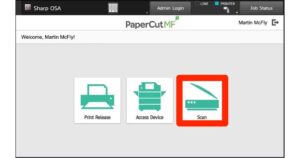
- Swipe your Ramapo ID card to sign in.
- Select Scan.
- Select Scan to My Email.
- Press Start to begin scanning.
- When you have finished scanning, press Finish
- Your scanned document will be emailed to your Ramapo email address as a PDF.
- Press Logout.
