September 27, 2023A 227
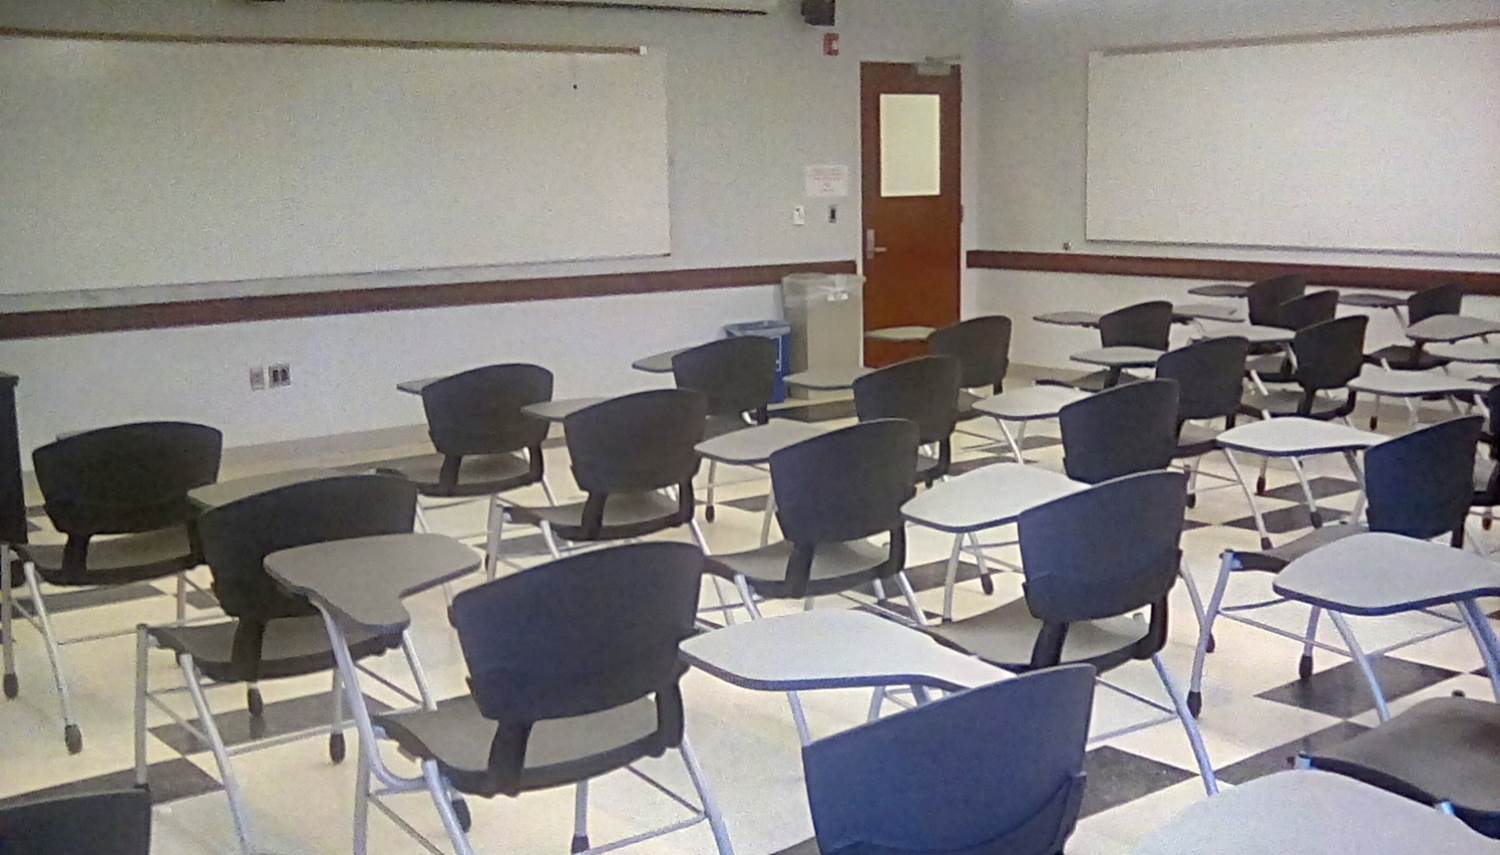
A/V Instructions – A 227
Call the IT helpdesk x7777 for further assistance.
- Locate the control panel on the wall near the screen.
- Power on the system by pressing the “On” button on the control panel.
- If using the room’s desktop computer, press “PC” on the control panel.
- If using a laptop, use the provided HDMI cable to connect the laptop to the panel.
Note: If your laptop does not support HDMI, please visit your dean’s office to inquire about a suitable adapter.- After connecting the HDMI cable, press “Laptop” on the control panel.
- Ensure that the device recognizes the room’s audio output, labeled
- “EPSON PJ (Intel® Display Audio)” for PC or
- “EPSON PJ (AMD High Definition Audio Device)” for laptop.
This can be confirmed in your device’s audio settings.
- Adjust the volume as needed using the up/down controls on the control panel.
- To switch from laptop to desktop, select the “PC” option on the control panel.
- If an input selection menu appears on the screen, use the projector remote or the buttons on the projector to select the correct input.
- When finished, power off the system by pressing the “Off” button on the control panel.
- After use, please neatly wrap the HDMI cable and return it to the designated hook mounted on the wall.
Video Tutorial
Categories: A-Wing
September 27, 2023A 226
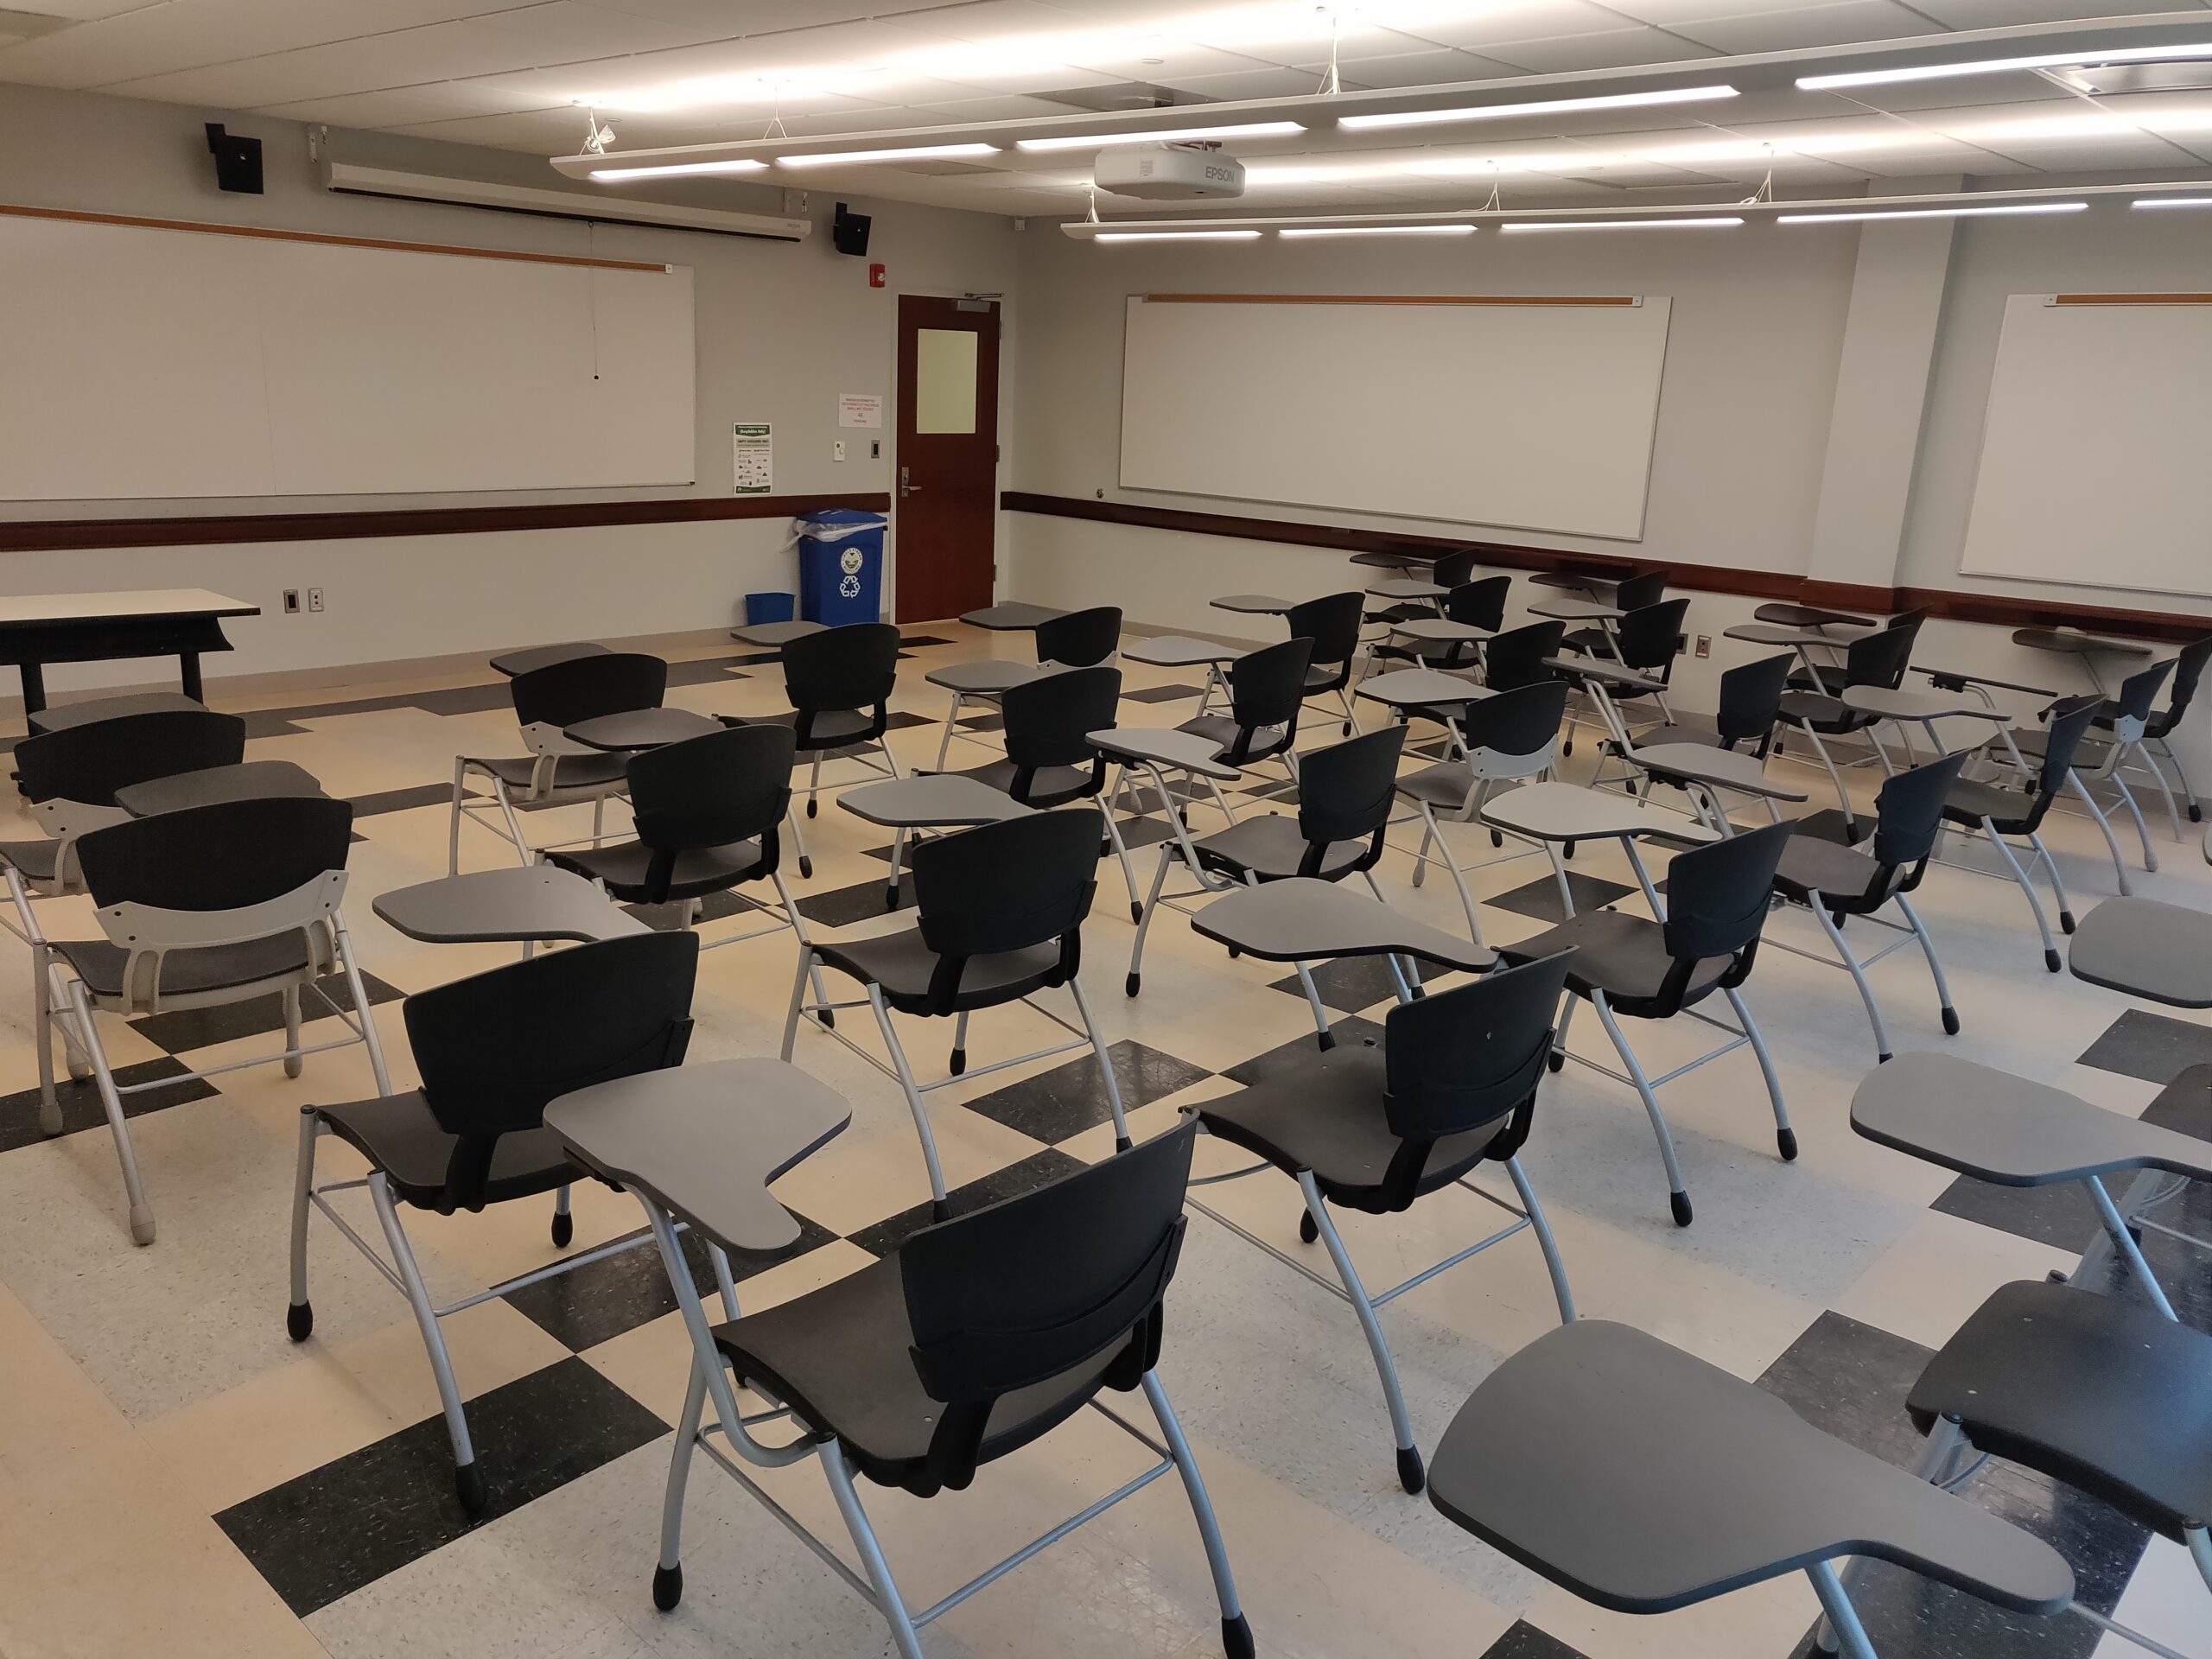
A/V Instructions – A 226
Call the IT helpdesk x7777 for further assistance.
- Locate the control panel on the wall near the screen.
- Power on the system by pressing the “On” button on the control panel.
- If using the room’s desktop computer, press “PC” on the control panel.
- If using a laptop, use the provided HDMI cable to connect the laptop to the panel.
Note: If your laptop does not support HDMI, please visit your dean’s office to inquire about a suitable adapter.- After connecting the HDMI cable, press “Laptop” on the control panel.
- Ensure that the device recognizes the room’s audio output, labeled
- “EPSON PJ (Intel® Display Audio)” for PC or
- “EPSON PJ (AMD High Definition Audio Device)” for laptop.
This can be confirmed in your device’s audio settings.
- Adjust the volume as needed using the up/down controls on the control panel.
- To switch from laptop to desktop, select the “PC” option on the control panel.
- If an input selection menu appears on the screen, use the projector remote or the buttons on the projector to select the correct input.
- When finished, power off the system by pressing the “Off” button on the control panel.
- After use, please neatly wrap the HDMI cable and return it to the designated hook mounted on the wall.
Video Tutorial
Categories: A-Wing
September 27, 2023A 225
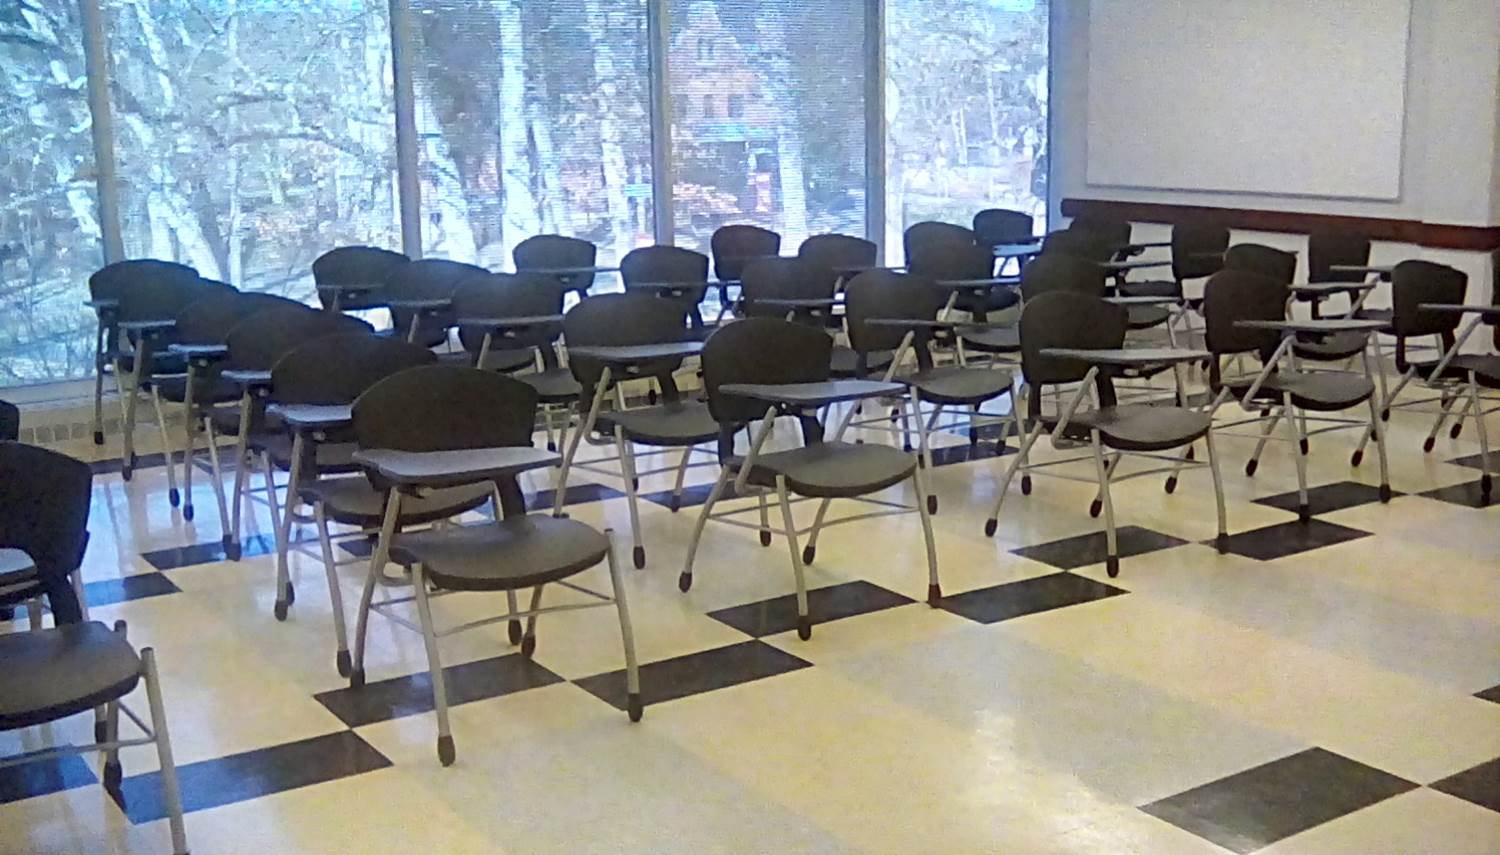
A/V Instructions – A 225
Call the IT helpdesk x7777 for further assistance.
- Locate the control panel on the wall near the screen.
- Power on the system by pressing the “On” button on the control panel.
- If using the room’s desktop computer, press “PC” on the control panel.
- If using a laptop, use the provided HDMI cable to connect the laptop to the panel.
Note: If your laptop does not support HDMI, please visit your dean’s office to inquire about a suitable adapter.- After connecting the HDMI cable, press “Laptop” on the control panel.
- Ensure that the device recognizes the room’s audio output, labeled
- “EPSON PJ (Intel® Display Audio)” for PC or
- “EPSON PJ (AMD High Definition Audio Device)” for laptop.
This can be confirmed in your device’s audio settings.
- Adjust the volume as needed using the up/down controls on the control panel.
- To switch from laptop to desktop, select the “PC” option on the control panel.
- If an input selection menu appears on the screen, use the projector remote or the buttons on the projector to select the correct input.
- When finished, power off the system by pressing the “Off” button on the control panel.
- After use, please neatly wrap the HDMI cable and return it to the designated hook mounted on the wall.
Video Tutorial
Categories: A-Wing
September 27, 2023A 223
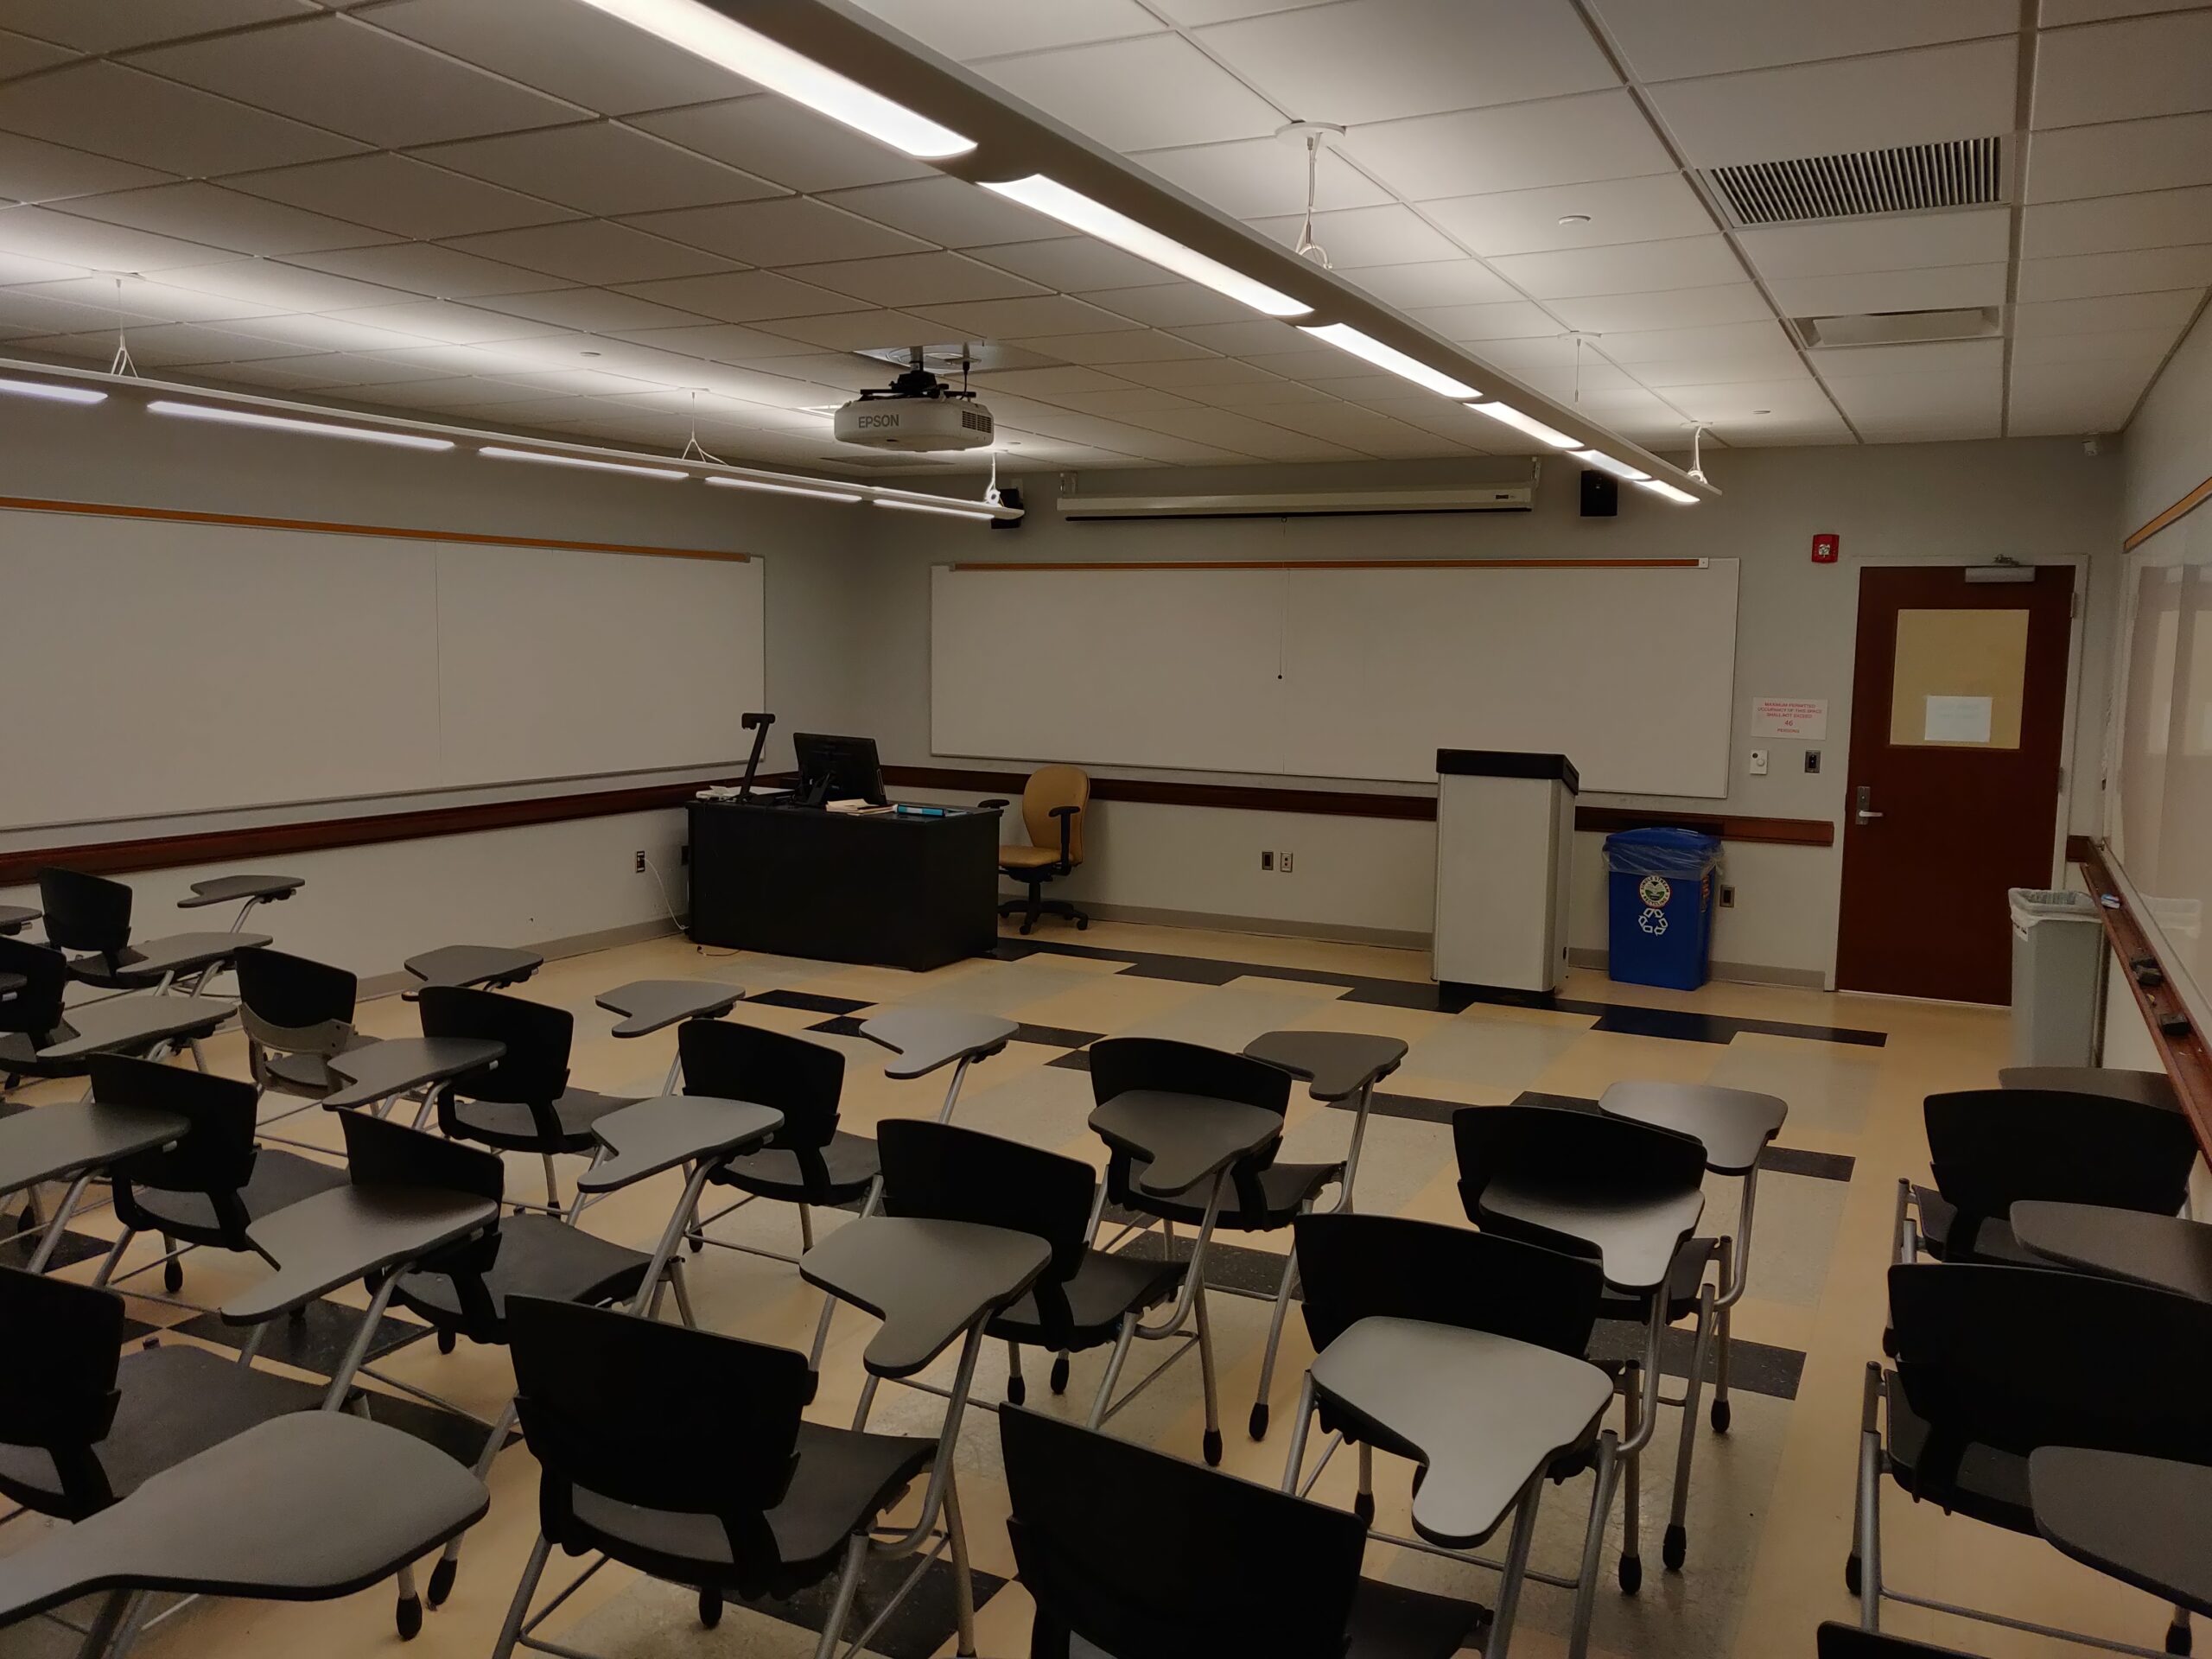
A/V Instructions – A 223
Call the IT helpdesk x7777 for further assistance.
- Locate the control panel on the wall near the screen.
- Power on the system by pressing the “On” button on the control panel.
- If using the room’s desktop computer, press “PC” on the control panel.
- If using a laptop, use the provided HDMI cable to connect the laptop to the panel.
Note: If your laptop does not support HDMI, please visit your dean’s office to inquire about a suitable adapter.- After connecting the HDMI cable, press “Laptop” on the control panel.
- Ensure that the device recognizes the room’s audio output, labeled
- “EPSON PJ (Intel® Display Audio)” for PC or
- “EPSON PJ (AMD High Definition Audio Device)” for laptop.
This can be confirmed in your device’s audio settings.
- Adjust the volume as needed using the up/down controls on the control panel.
- To switch from laptop to desktop, select the “PC” option on the control panel.
- If an input selection menu appears on the screen, use the projector remote or the buttons on the projector to select the correct input.
- When finished, power off the system by pressing the “Off” button on the control panel.
- After use, please neatly wrap the HDMI cable and return it to the designated hook mounted on the wall.
Video Tutorial
Categories: A-Wing
September 27, 2023A 221
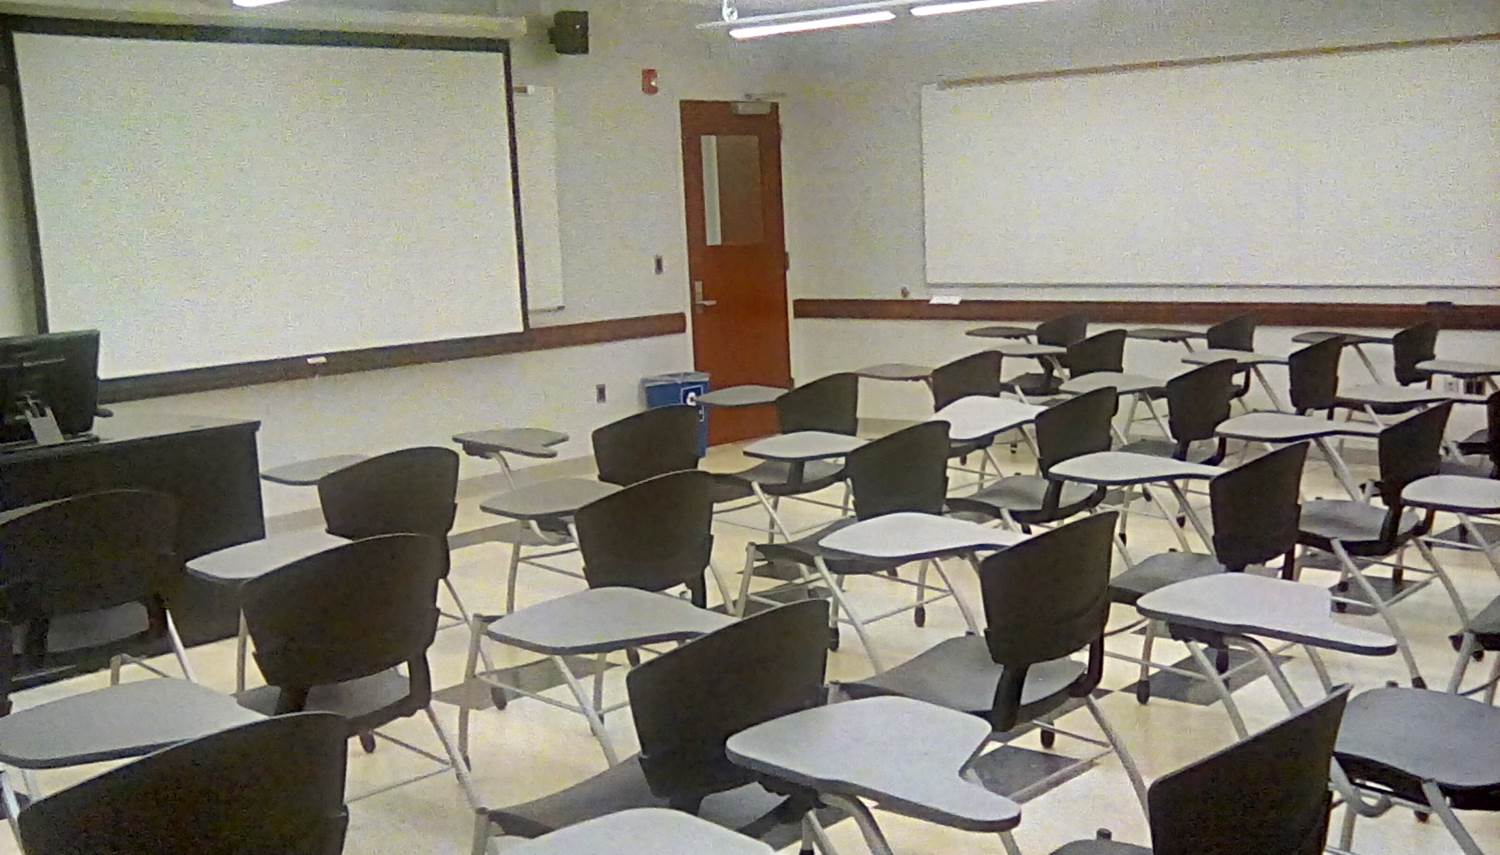
A/V Instructions – A 221
Call the IT helpdesk x7777 for further assistance.
- Locate the control panel on the wall near the screen.
- Power on the system by pressing the “On” button on the control panel.
- If using the room’s desktop computer, press “PC” on the control panel.
- If using a laptop, use the provided HDMI cable to connect the laptop to the panel.
Note: If your laptop does not support HDMI, please visit your dean’s office to inquire about a suitable adapter.- After connecting the HDMI cable, press “Laptop” on the control panel.
- Ensure that the device recognizes the room’s audio output, labeled
- “EPSON PJ (Intel® Display Audio)” for PC or
- “EPSON PJ (AMD High Definition Audio Device)” for laptop.
This can be confirmed in your device’s audio settings.
- Adjust the volume as needed using the up/down controls on the control panel.
- To switch from laptop to desktop, select the “PC” option on the control panel.
- If an input selection menu appears on the screen, use the projector remote or the buttons on the projector to select the correct input.
- When finished, power off the system by pressing the “Off” button on the control panel.
- After use, please neatly wrap the HDMI cable and return it to the designated hook mounted on the wall.
Video Tutorial
Categories: A-Wing
September 27, 2023A 220
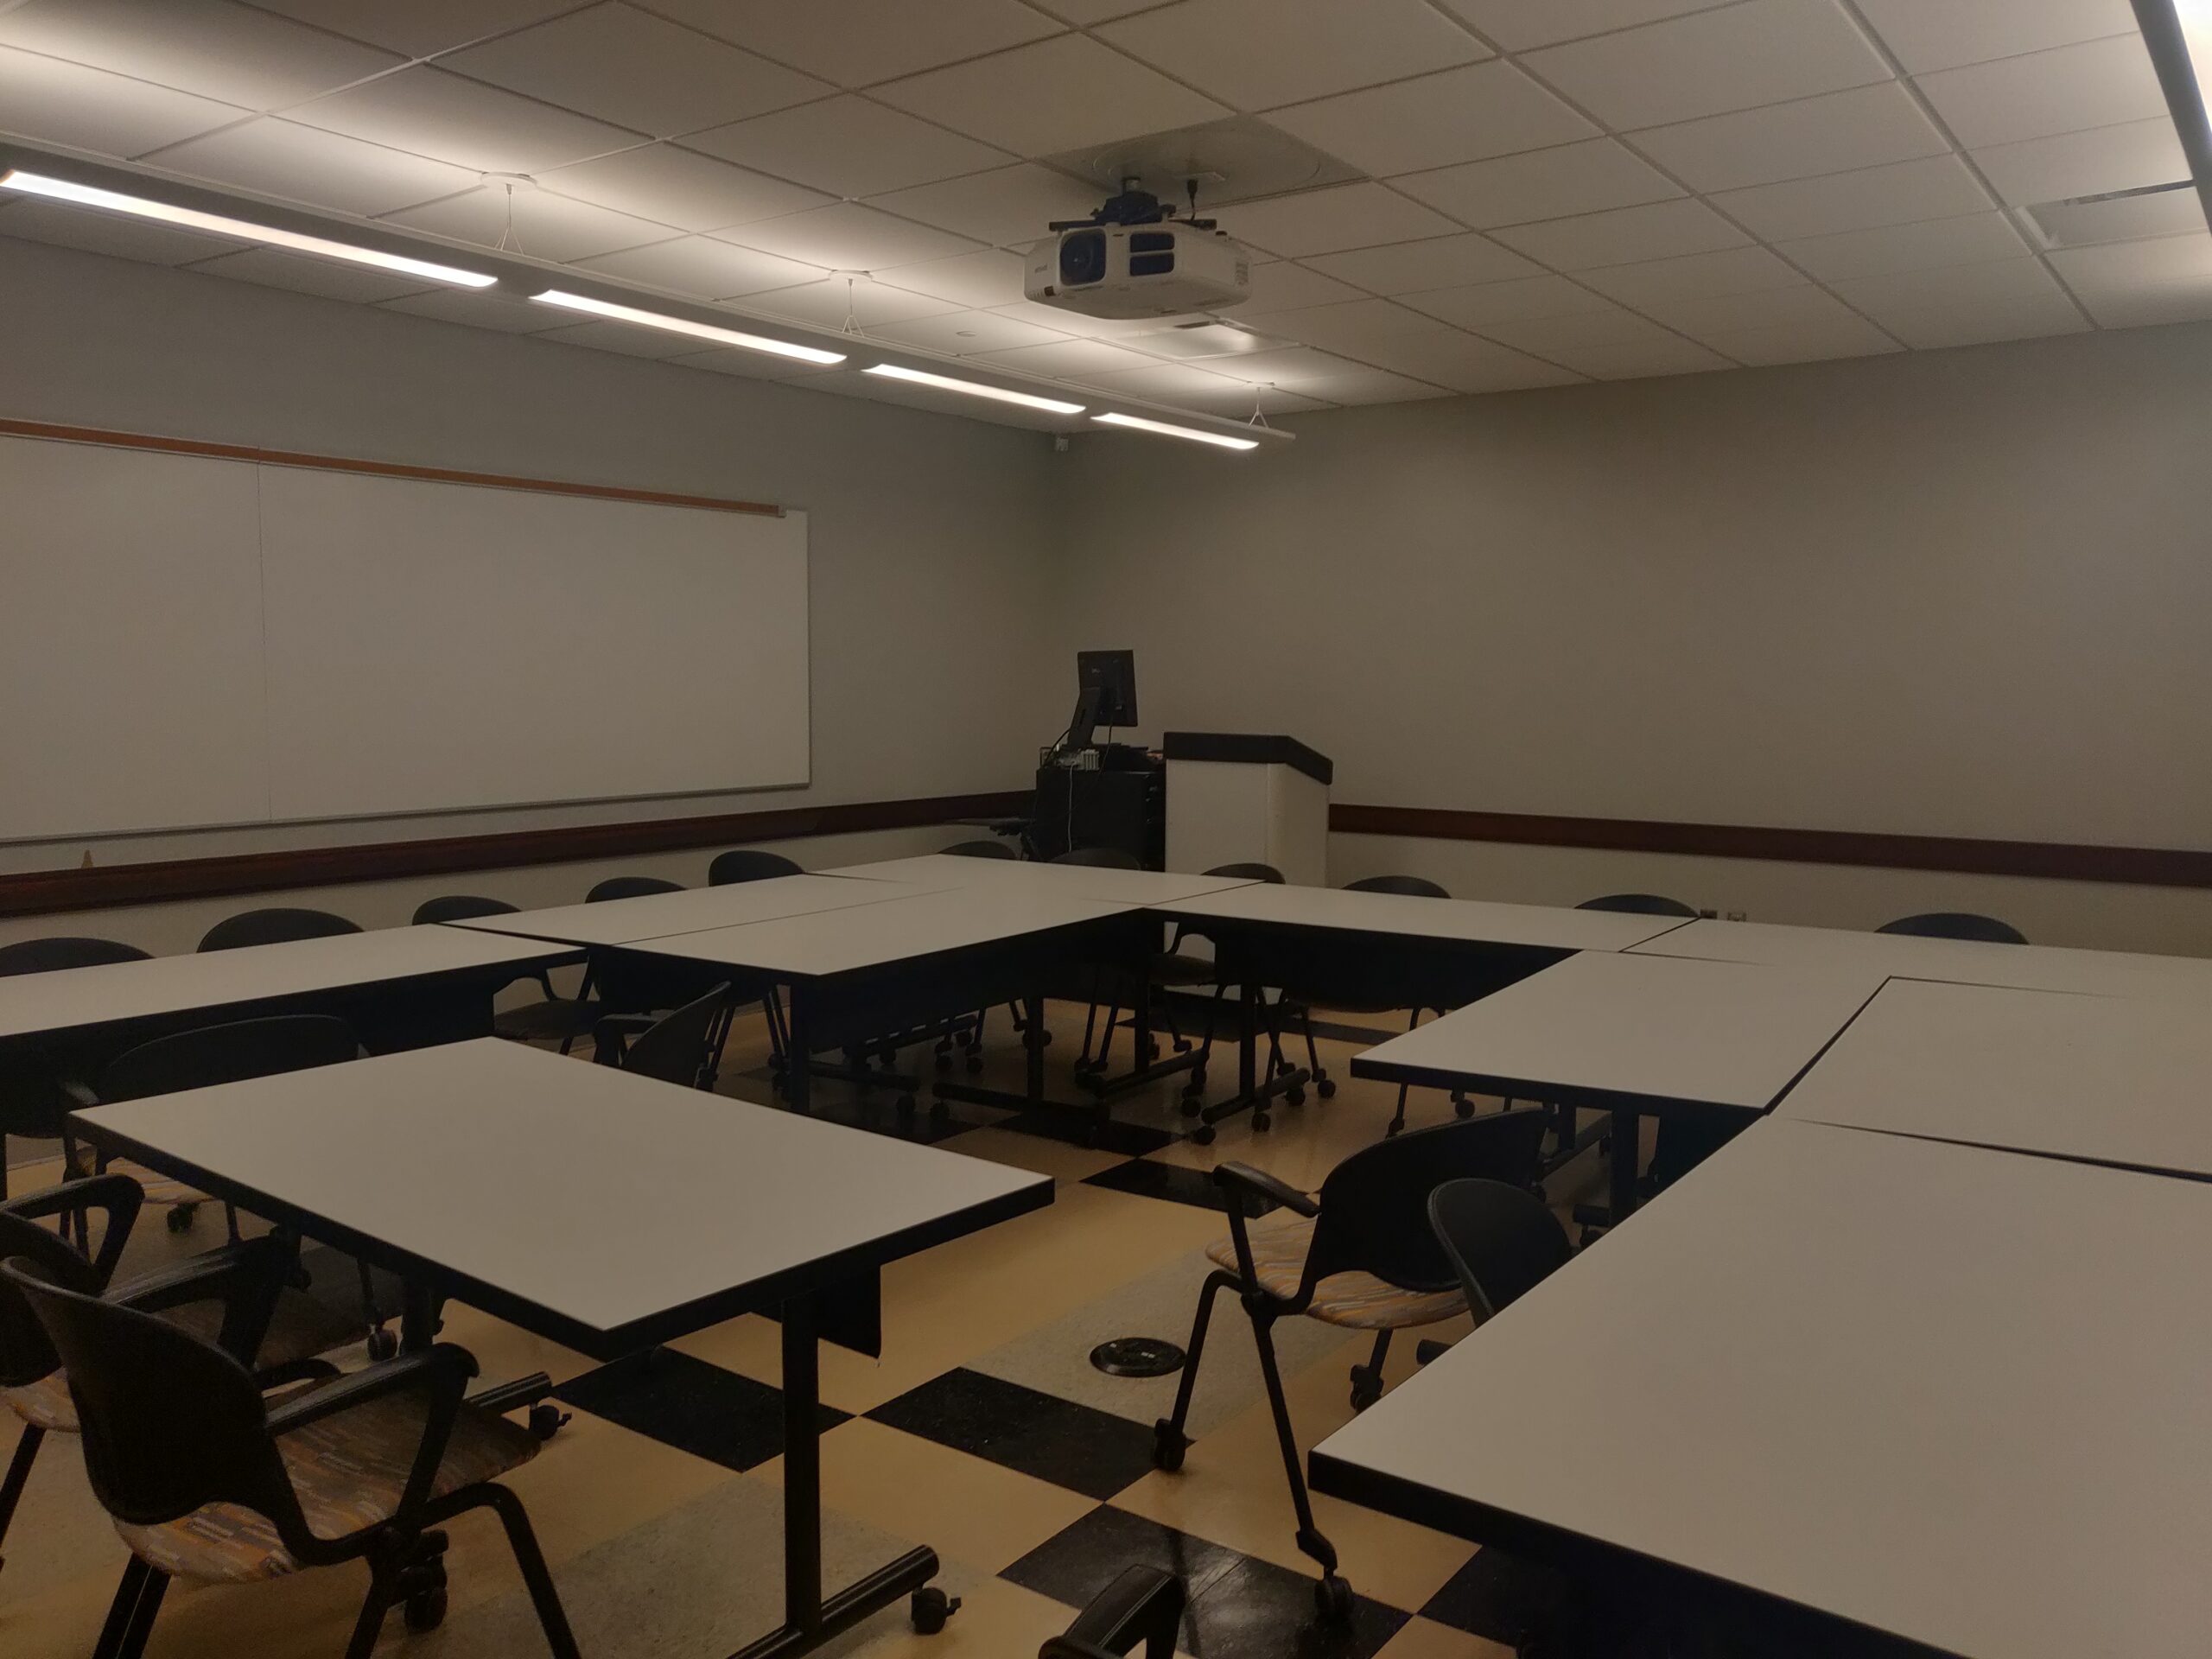
A/V Instructions – A 220
Call the IT helpdesk x7777 for further assistance.
- Locate the control panel on the wall near the screen.
- Power on the system by pressing the “On” button on the control panel.
- If using the room’s desktop computer, press “PC” on the control panel.
- If using a laptop, use the provided HDMI cable to connect the laptop to the panel.
Note: If your laptop does not support HDMI, please visit your dean’s office to inquire about a suitable adapter.- After connecting the HDMI cable, press “Laptop” on the control panel.
- Ensure that the device recognizes the room’s audio output, labeled
- “EPSON PJ (Intel® Display Audio)” for PC or
- “EPSON PJ (AMD High Definition Audio Device)” for laptop.
This can be confirmed in your device’s audio settings.
- Adjust the volume as needed using the up/down controls on the control panel.
- To switch from laptop to desktop, select the “PC” option on the control panel.
- If an input selection menu appears on the screen, use the projector remote or the buttons on the projector to select the correct input.
- When finished, power off the system by pressing the “Off” button on the control panel.
- After use, please neatly wrap the HDMI cable and return it to the designated hook mounted on the wall.
Video Tutorial
Categories: A-Wing
September 27, 2023A 218
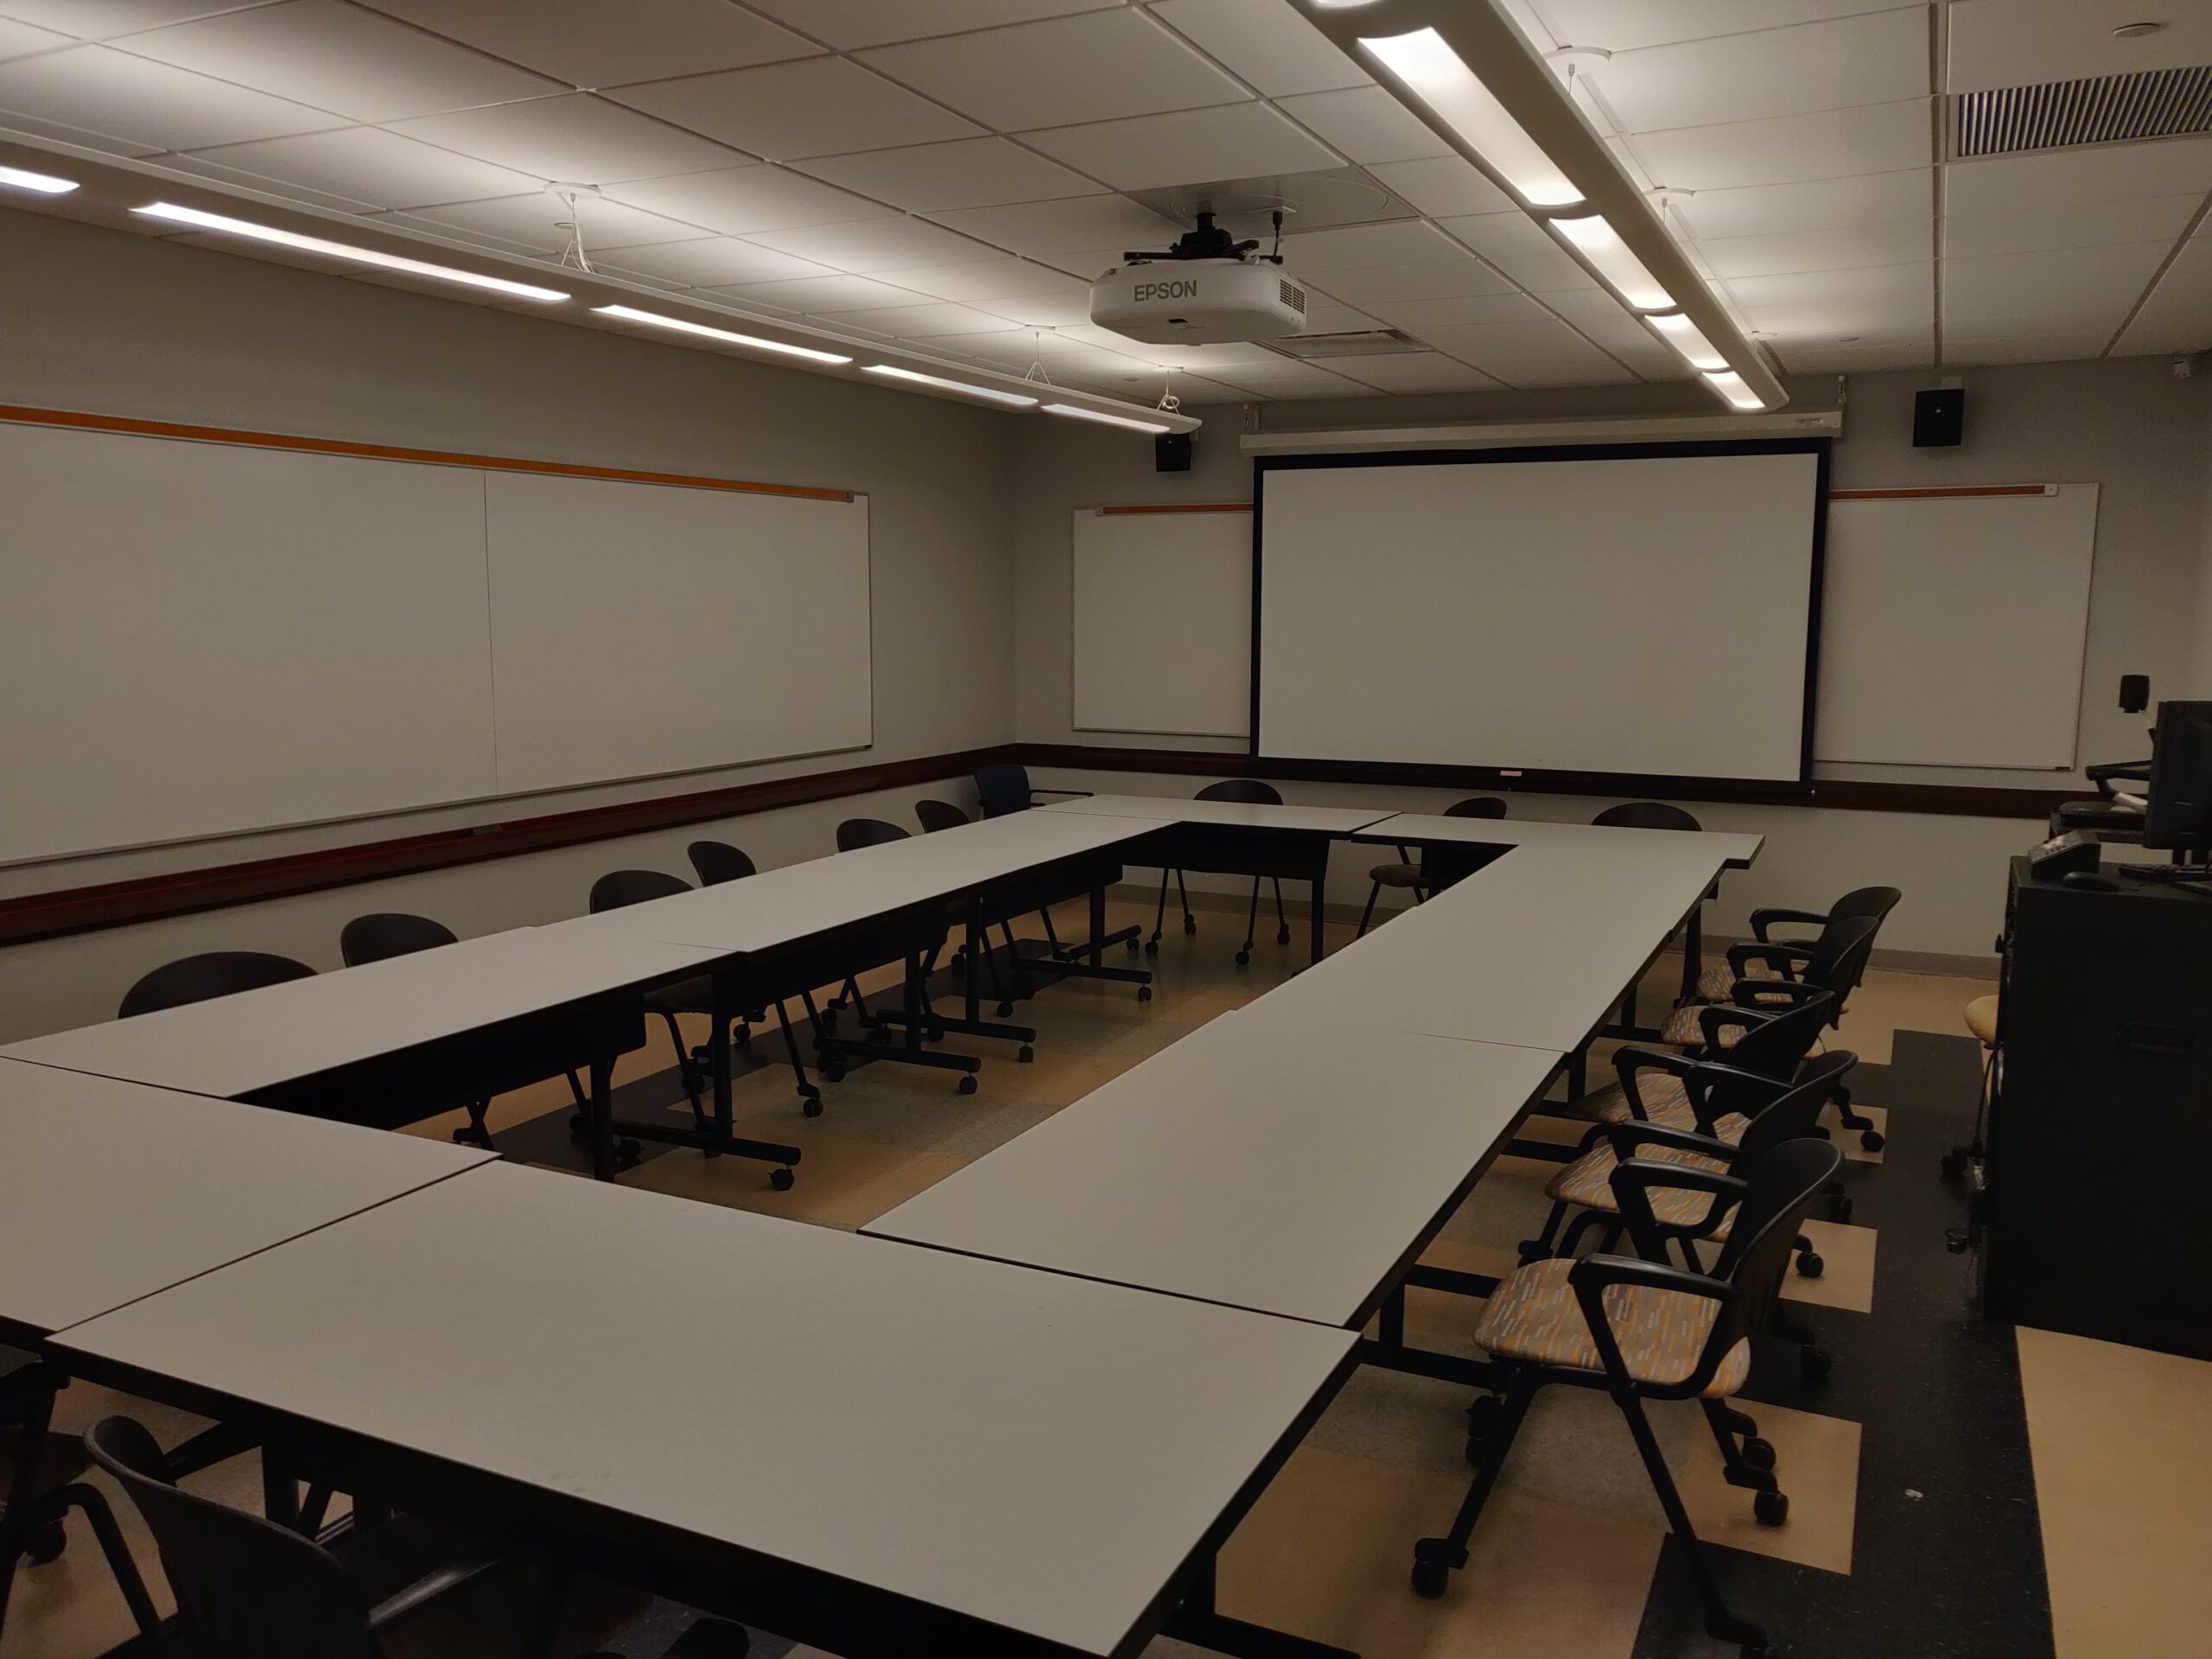
A/V Instructions – A 218
Call the IT helpdesk x7777 for further assistance.
- Locate the control panel on the wall near the screen.
- Power on the system by pressing the “On” button on the control panel.
- If using the room’s desktop computer, press “PC” on the control panel.
- If using a laptop, use the provided HDMI cable to connect the laptop to the panel.
Note: If your laptop does not support HDMI, please visit your dean’s office to inquire about a suitable adapter.- After connecting the HDMI cable, press “Laptop” on the control panel.
- Ensure that the device recognizes the room’s audio output, labeled
- “EPSON PJ (Intel® Display Audio)” for PC or
- “EPSON PJ (AMD High Definition Audio Device)” for laptop.
This can be confirmed in your device’s audio settings.
- Adjust the volume as needed using the up/down controls on the control panel.
- To switch from laptop to desktop, select the “PC” option on the control panel.
- If an input selection menu appears on the screen, use the projector remote or the buttons on the projector to select the correct input.
- When finished, power off the system by pressing the “Off” button on the control panel.
- After use, please neatly wrap the HDMI cable and return it to the designated hook mounted on the wall.
Video Tutorial
Categories: A-Wing
September 26, 2023A 108/109
A/V Instructions – A 108
Call the IT helpdesk x7777 for further assistance.
- Locate the control panel on the wall near the screen.
- Power on the system by pressing the “On” button on the control panel.
- If using the room’s desktop computer, press “PC” on the control panel.
- If using a laptop, use the provided HDMI cable to connect the laptop to the panel.
Note: If your laptop does not support HDMI, please visit your dean’s office to inquire about a suitable adapter.- After connecting the HDMI cable, press “Laptop” on the control panel.
- Ensure that the device recognizes the room’s audio output, labeled
- “EPSON PJ (Intel® Display Audio)” for PC or
- “EPSON PJ (AMD High Definition Audio Device)” for laptop.
This can be confirmed in your device’s audio settings.
- Adjust the volume as needed using the up/down controls on the control panel.
- To switch from laptop to desktop, select the “PC” option on the control panel.
- If an input selection menu appears on the screen, use the projector remote or the buttons on the projector to select the correct input.
- When finished, power off the system by pressing the “Off” button on the control panel.
- After use, please neatly wrap the HDMI cable and return it to the designated hook mounted on the wall.
Video Tutorial
Categories: A-Wing
September 26, 2023A 107
A/V Instructions – a 107
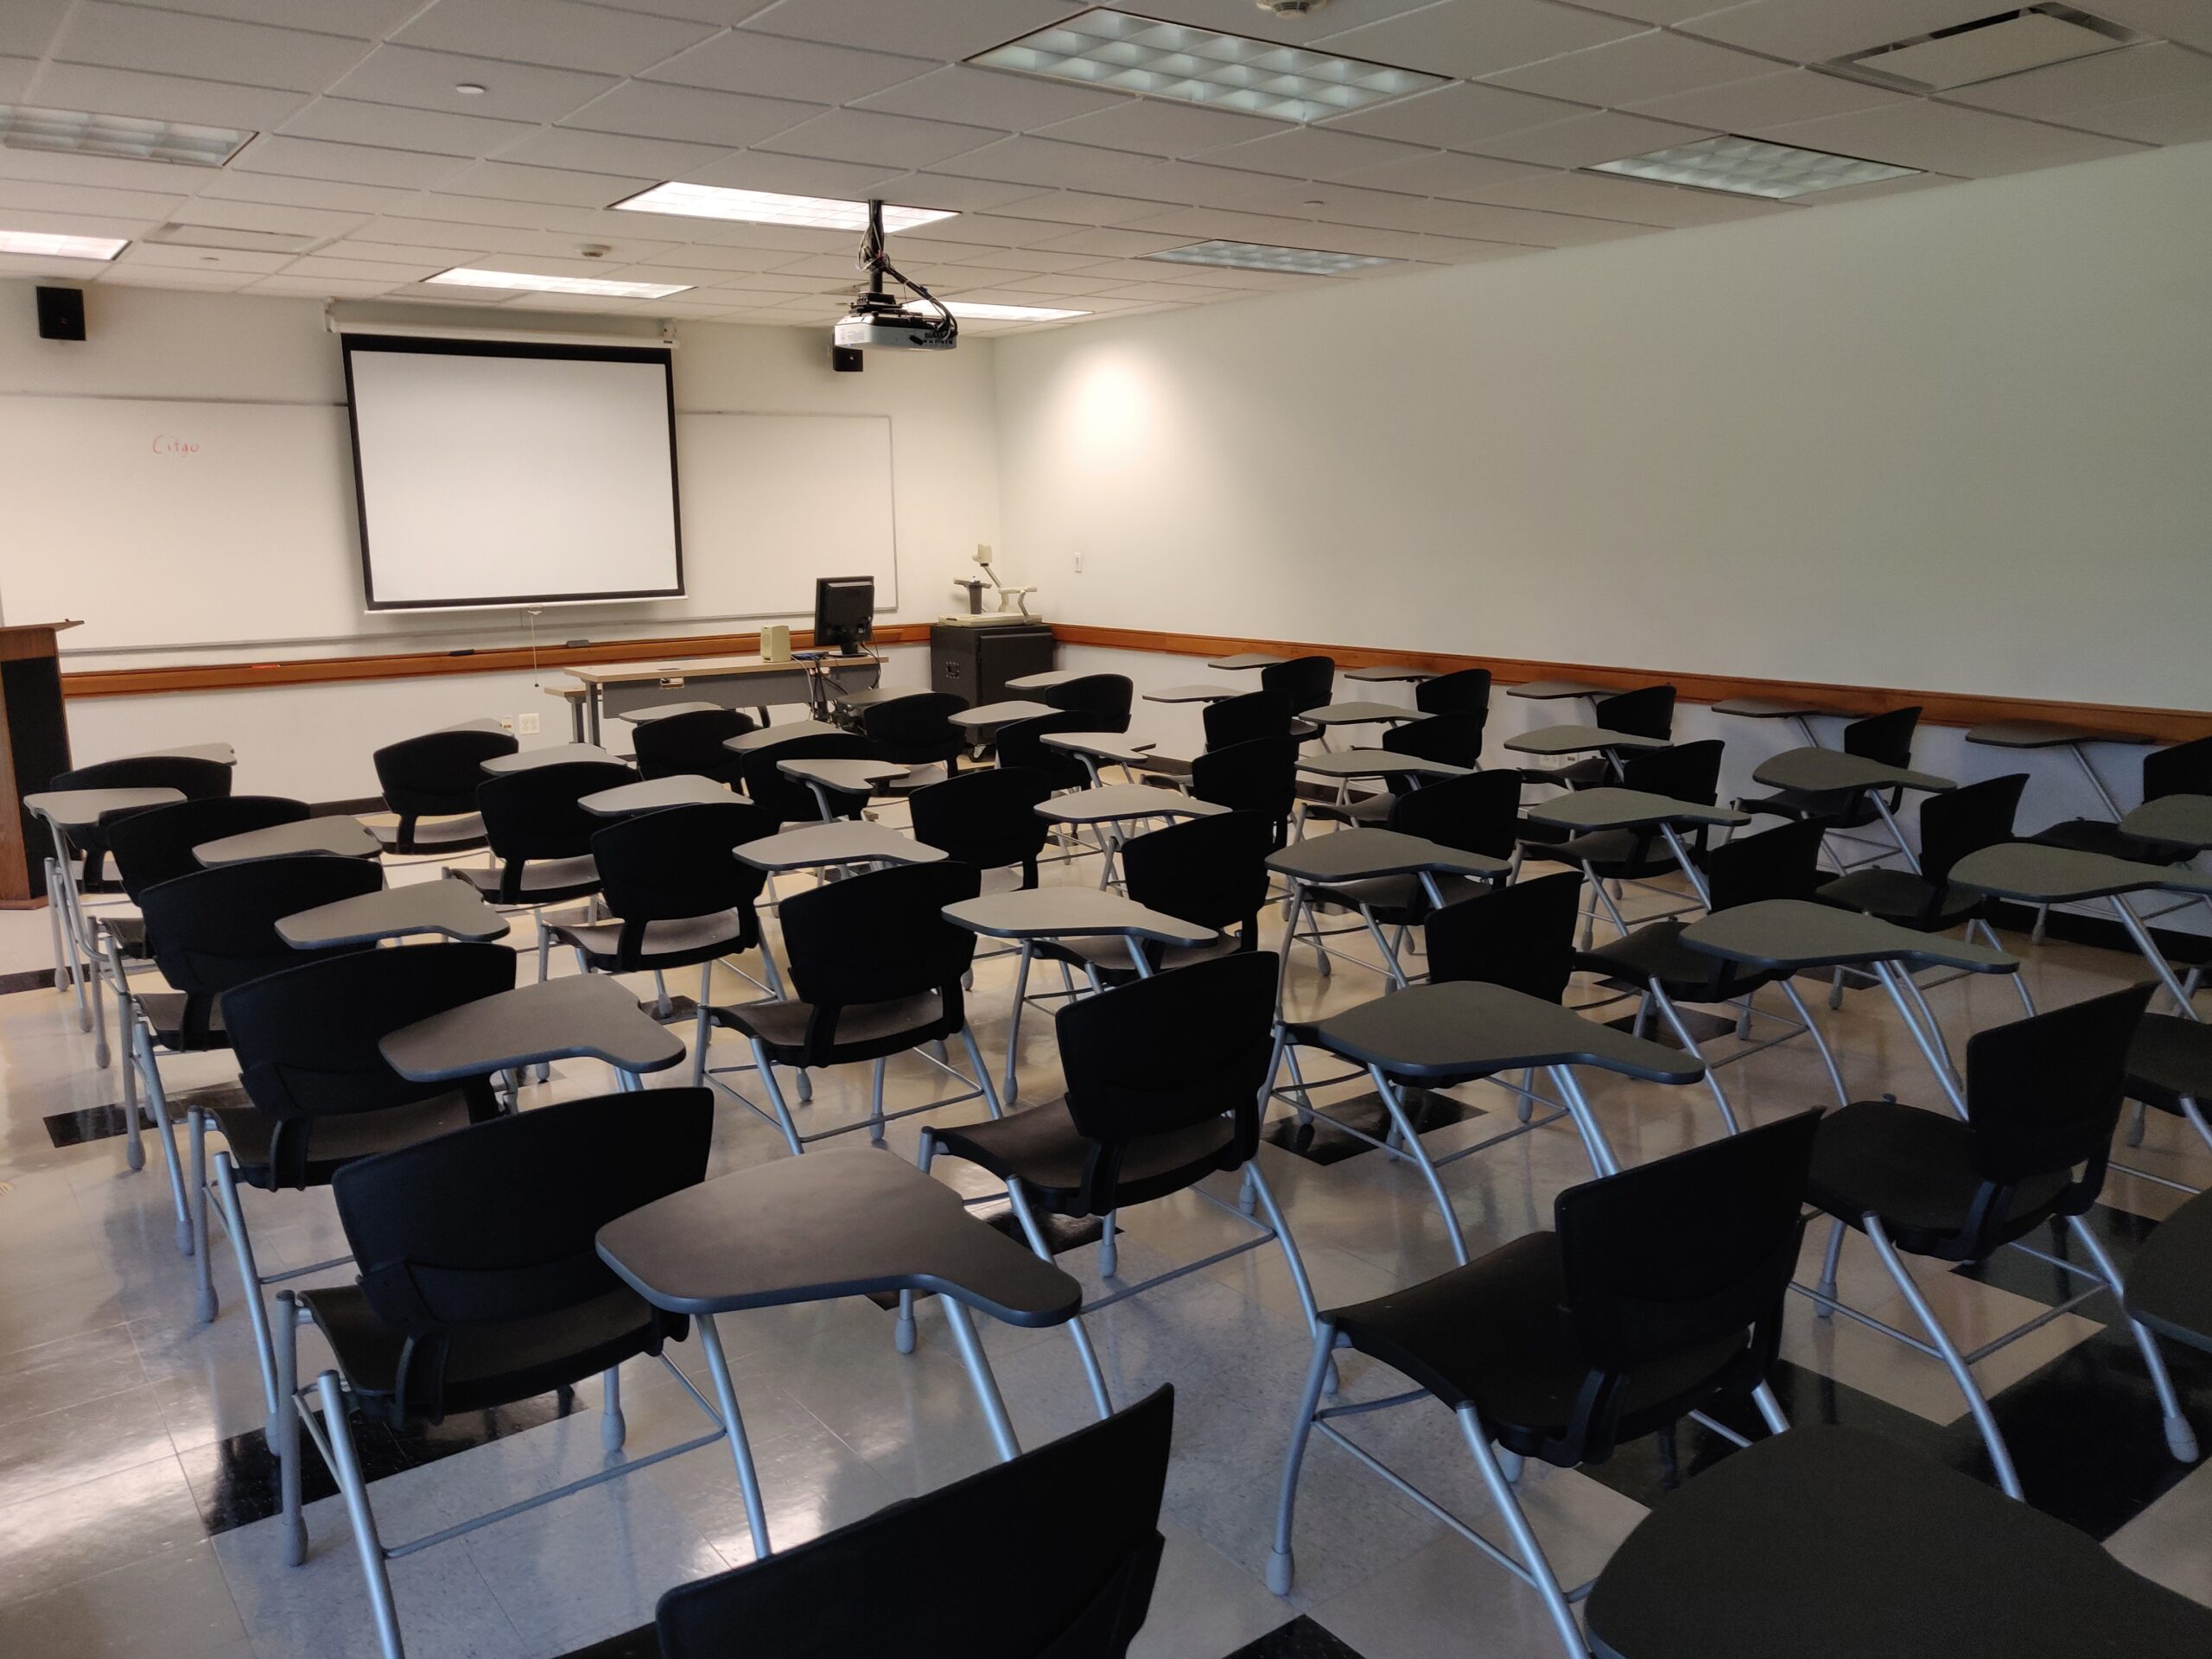
Call the IT helpdesk x7777 for further assistance.
- Locate the control panel on the wall near the screen.
- Power on the system by pressing the “On” button on the control panel.
- If using the room’s desktop computer, press “PC” on the control panel.
- If using a laptop, use the provided HDMI cable to connect the laptop to the panel.
Note: If your laptop does not support HDMI, please visit your dean’s office to inquire about a suitable adapter.- After connecting the HDMI cable, press “Laptop” on the control panel.
- Ensure that the device recognizes the room’s audio output, labeled
- “EPSON PJ (Intel® Display Audio)” for PC or
- “EPSON PJ (AMD High Definition Audio Device)” for laptop.
This can be confirmed in your device’s audio settings.
- Adjust the volume as needed using the up/down controls on the control panel.
- To switch from laptop to desktop, select the “PC” option on the control panel.
- If an input selection menu appears on the screen, use the projector remote or the buttons on the projector to select the correct input.
- When finished, power off the system by pressing the “Off” button on the control panel.
- After use, please neatly wrap the HDMI cable and return it to the designated hook mounted on the wall.
Video Tutorial
Categories: A-Wing
September 26, 2023A 106
A/V Instructions – A 106
Call the IT helpdesk x7777 for further assistance.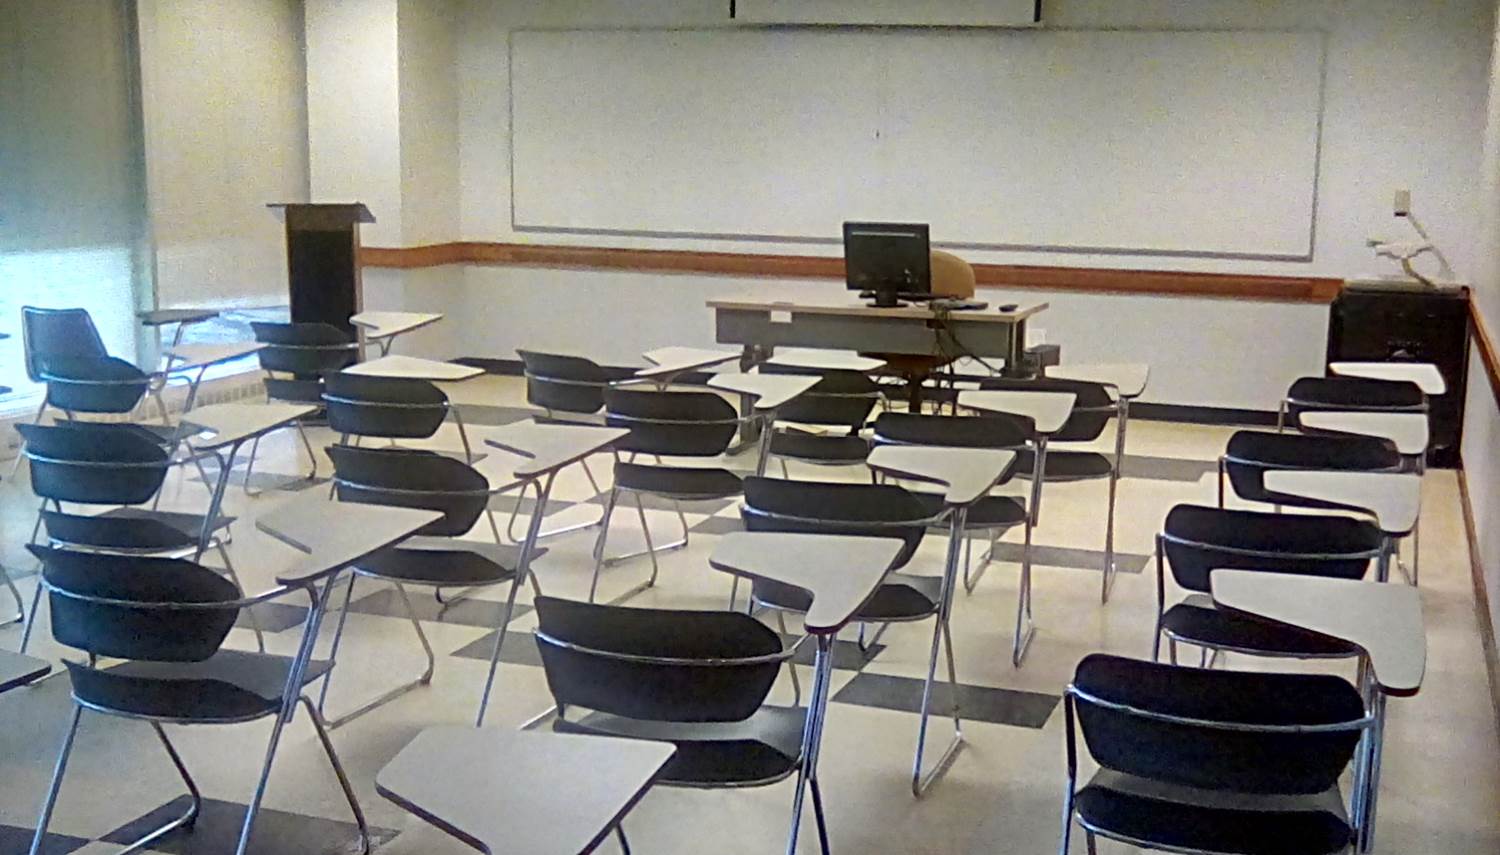
- Locate the control panel on the wall near the screen.
- Power on the system by pressing the “On” button on the control panel.
- If using the room’s desktop computer, press “PC” on the control panel.
- If using a laptop, use the provided HDMI cable to connect the laptop to the panel.
Note: If your laptop does not support HDMI, please visit your dean’s office to inquire about a suitable adapter.- After connecting the HDMI cable, press “Laptop” on the control panel.
- Ensure that the device recognizes the room’s audio output, labeled
- “EPSON PJ (Intel® Display Audio)” for PC or
- “EPSON PJ (AMD High Definition Audio Device)” for laptop.
This can be confirmed in your device’s audio settings.
- Adjust the volume as needed using the up/down controls on the control panel.
- To switch from laptop to desktop, select the “PC” option on the control panel.
- If an input selection menu appears on the screen, use the projector remote or the buttons on the projector to select the correct input.
- When finished, power off the system by pressing the “Off” button on the control panel.
- After use, please neatly wrap the HDMI cable and return it to the designated hook mounted on the wall.
Video Tutorial
Categories: A-Wing